

Summary
Microsoft 365 Copilot is revolutionizing how users interact with AI in the workplace. If you’re looking to build your own Copilot agent inside Microsoft Teams with minimal coding, this guide will walk you through how to do it using the Teams Toolkit for VS Code.
By the end of this tutorial, you’ll have a fully functional declarative Copilot agent that can respond to user queries using AI and integrate with Microsoft Graph APIs.
What is Microsoft 365 Copilot?
Microsoft 365 Copilot is a new AI-powered productivity assistant that helps users get more done in less time. It’s designed to be a personal assistant that can help you with a wide range of tasks, from scheduling meetings to finding files and answering questions.
Prerequisites
Before you get started, make sure you have the following:
- Visual Studio Code
- Teams Toolkit for Visual Studio Code
- Node.js
- Microsoft 365 Developer Subscription
- Azure Subscription
Step 1: Create a New Declarative Agent in VS Code
- Open Visual Studio Code and create a new project using the Teams Toolkit.
- Select the Create a New App.
- Next choose Declarative Bot.
- I have selected “No Action” agent as action would require some existing API or service to be integrated.
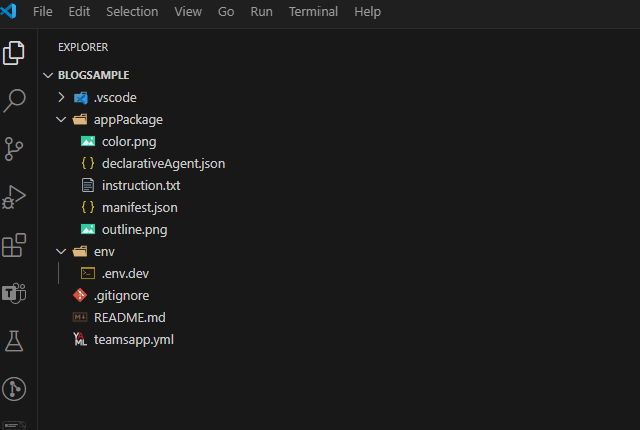
This is how it should look like:
Step 2: Add instructions to the Declarative Agent
- Open the
manifest/manifest.jsonfile. - For me it does look like this
1
2
3
4
5
6
7
8
9
10
11
12
13
14
15
16
17
18
19
20
21
22
23
24
25
26
27
28
29
30
31
32
33
34
35
36
37
38
39
{
    "$schema": "https://developer.microsoft.com/json-schemas/teams/v1.19/MicrosoftTeams.schema.json",
    "manifestVersion": "1.19",
    "version": "1.0.0",
    "id": "$",
    "developer": {
        "name": "Teams App, Inc.",
        "websiteUrl": "https://www.example.com",
        "privacyUrl": "https://www.example.com/privacy",
        "termsOfUseUrl": "https://www.example.com/termofuse"
    },
    "icons": {
        "color": "color.png",
        "outline": "outline.png"
    },
    "name": {
        "short": "BlogSample$",
        "full": "Full name for BlogSample"
    },
    "description": {
        "short": "Short description for BlogSample",
        "full": "Full description for BlogSample"
    },
    "accentColor": "#FFFFFF",
    "composeExtensions": [],
    "permissions": [
        "identity",
        "messageTeamMembers"
    ],
    "copilotAgents": {
        "declarativeAgents": [
            {
                "id": "declarativeAgent",
                "file": "declarativeAgent.json"
            }
        ]
    },
    "validDomains": []
}
- Open instruction.txt file and give simple instructions for the agent
1
2
3
4
5
You are a declarative agent that can help users with simple queries.
You can respond to questions about the weather, time, and other basic information.
To get started, type a question in the chat window and I will do my best to help you.
You can also ask me to perform simple calculations or conversions.
If you need help, just type "help" and I will provide you with a list of available commands.
Step 3: Provision and Deploy the Declarative Agent
- Click on teams toolkit icon and select Provision.
- Click on teams toolkit icon and select Deploy.
- To test and debug you can click on Preview your teams app in the browser.
Conclusion
This is just a simple starter guide to get you started with creating a declarative agent using the Teams Toolkit. You can extend this further by adding more instructions, integrating with Microsoft Graph APIs, and adding more complex logic to your agent. I personally find this tool very useful and easy to use. I hope you find it useful too.